Ovidiu
How to Add a File Upload Field to a Webflow Form (on any hosting plan)
Memberscripts needed:
Tutorial:
Cloneable:
https://webflow.com/made-in-webflow/website/webflow-file-upload
Why/When would need to add a File Upload Field to a Webflow Form?
- Allow users to upload files like documents, resumes, photos, etc. when submitting a form.
Depending on what your users are trying to achieve on your website, you may sometimes need certain files from them, be they photos, documents, or anything else.
Below we’ll be taking a look at how you can easily implement file uploading functionality to your Webflow forms with the help of Make.com and Google Drive.
Adding a file upload field to Webflow forms
To add a file upload field to a Webflow form, we’re going to use MemberScript #38 – File Upload Field. Follow the link to get the code you’ll need to add to your page and watch a video tutorial on how to set everything up.
Setting everything up in Webflow
The first thing you’ll need to do is build out the form itself and style it however you want. Once you’ve done that and you’ve added all the fields you need on your form, add this attribute to the form itself:
- ms-code-file-upload=”form”
Next up, to add the actual upload field, just create an empty div block and style it however you want. After you’re done, add the following attribute to it:
- ms-code-file-upload-input=”fileToUpload”
You can have anything you want instead of fileToUpload, it can be photo, document, pdf, and so on.
Setting everything up on Make.com
If you don’t already have a Make.com account, go ahead and create one now.
After you’ve got your account, go ahead and download this JSON blueprint file to help you get started.
Once you’ve got the blueprint file, go to Make.com and select Create a new scenario.

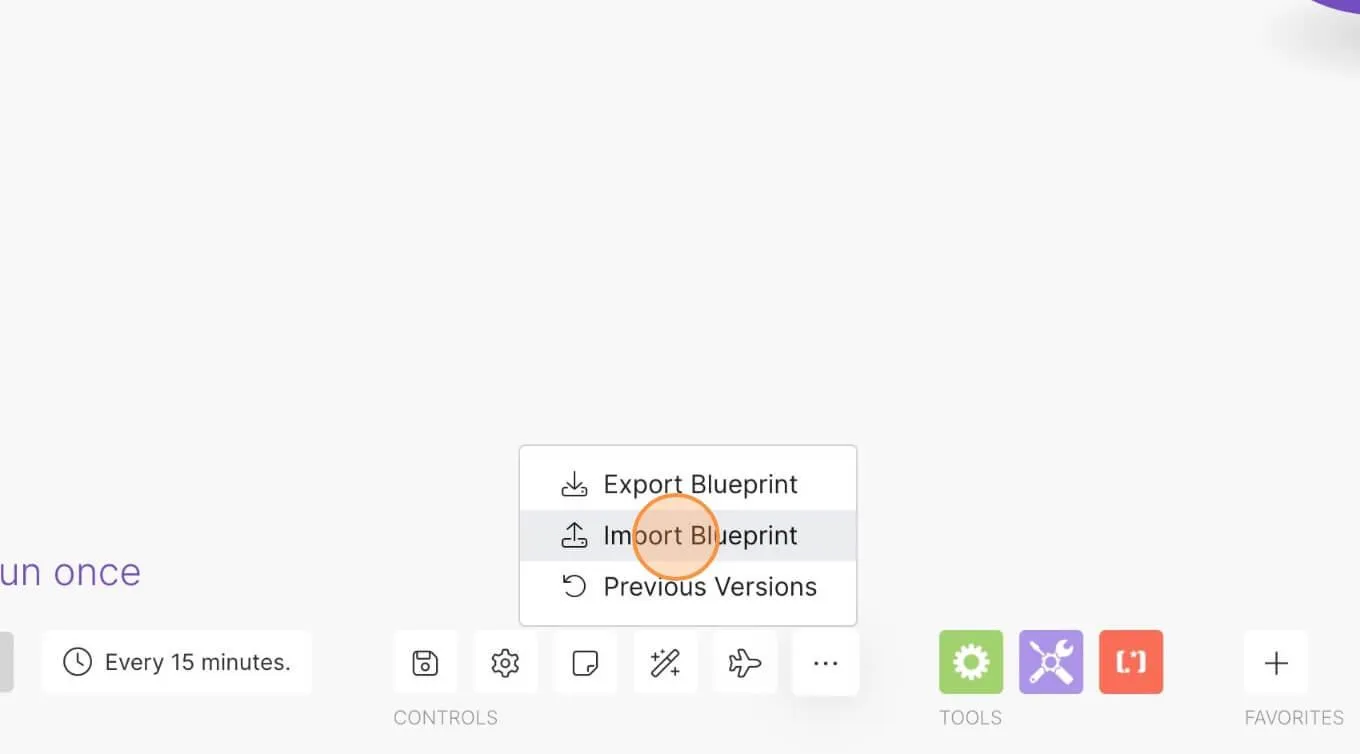
Next, click on the button with 3 small dots inside it and select Import Blueprint.

Select the blueprint file you downloaded earlier and you’re good to go.
Now for editing the scenario:
- Go to edit your scenario and select the first webhook. You’ll be given a URL which you need to copy and go back to Webflow, select the form, and on the right under Form settings paste the URL in the Action field and select POST below it instead of the default GET.
- Back on Make.com, select the second webhook and under Custom headers you can add a redirect URL in the value field. If you don’t want to redirect your users to a different page after submitting the form, just add the URL of the page with the form and it’ll just refresh the page on submission.
- Select Google Drive in your scenario and under Folder ID paste the ID of the folder where you want the files to be uploaded. To get your folder’s ID after creating it, just open it in Google Drive and copy everything in the URL after folders/.
- The final step is to select Email in your scenario and add all the recipients you want notified of any new file uploads. If you don’t want to send out any notifications, you can just delete the email part of the scenario. You can also edit the content of the emails that get sent out on new submissions.
When you’ve made all the changes from above, you can save the scenario, make sure it’s turned on, and that’s everything we need to do on Make.com.
Making everything work
Now that you’ve got the form and the Make.com scenario set up, all you need to do is add the MemberScript #38 custom code to your page, before the closing body tag.
Conclusión
That’s everything, you can now go ahead and submit a file through your form to test it out.
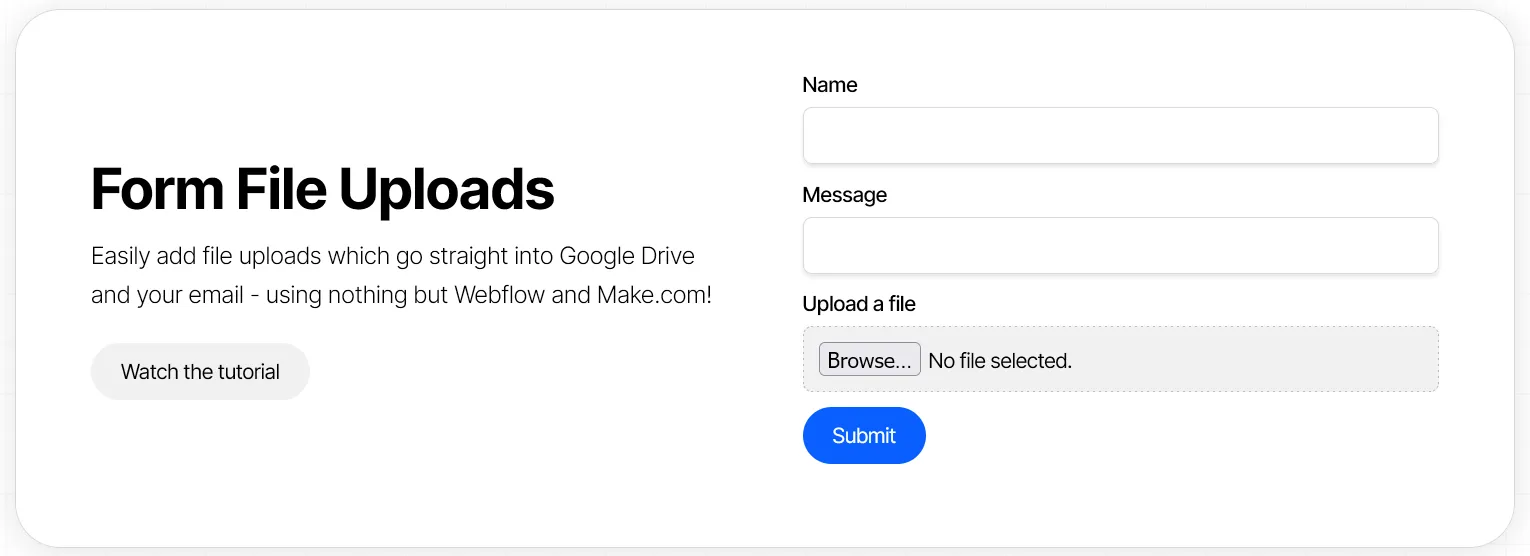
If you want to use our demo project to get you started, click the image below to add it to your Webflow site.

Our demo can help you add a file uploader to any site and send the submission to Google Drive, email, or anywhere you want.
Take me to the Script!
Añada afiliaciones a su proyecto Webflow en cuestión de minutos.
Más de 200 componentes Webflow clonables gratuitos. No es necesario registrarse.
Añade membresías a tu proyecto React en cuestión de minutos.

.webp)


.png)
