Ovidiu
Cómo cambiar los estilos de los elementos utilizando parámetros de URL en Webflow
Miembros necesarios
https://www.memberstack.com/scripts/74-styling-with-link-parameters
Tutorial
Clonable

Why/When would you need to Change Element Styles using URL Parameters in Webflow?
- Change the styling of elements on a page based on user interaction – e.g. if they click on a button, a previously hidden element like an image can be displayed, or the color of another element can change, or the style of a heading, and so much more.
For a more interactive experience, you may sometimes want to change certain visual aspects of your page based on your visitors’ interactions with said page.
For example, maybe you have multiple price tiers displayed in a table and once a user expands the details of one tier, the others might fade out a bit.
We’re going to look at how you can use URL parameters to change element styles on your site. It’s quick, super easy, and you can do a lot of great things to improve your site’s UX with it.
Keep in mind, however, that you can only use one style parameter per element. For example, if you want a button’s style to change once users click it, you can only change one aspect of its style, say its color.
Changing element styles using URL parameters in Webflow
To change element styles using URL parameters on your Webflow site, we’re going to use MemberScript #74 – Styling with Link Parameters. Follow the link to get the code you’ll need to add to your page and watch a video tutorial on how to set everything up.
Setting it up
All you really need to do to get it working is to add the MemberScript #74 custom code to your page, before the closing body tag.
Once that’s done, you can go ahead and use the following parameters in your URLs:
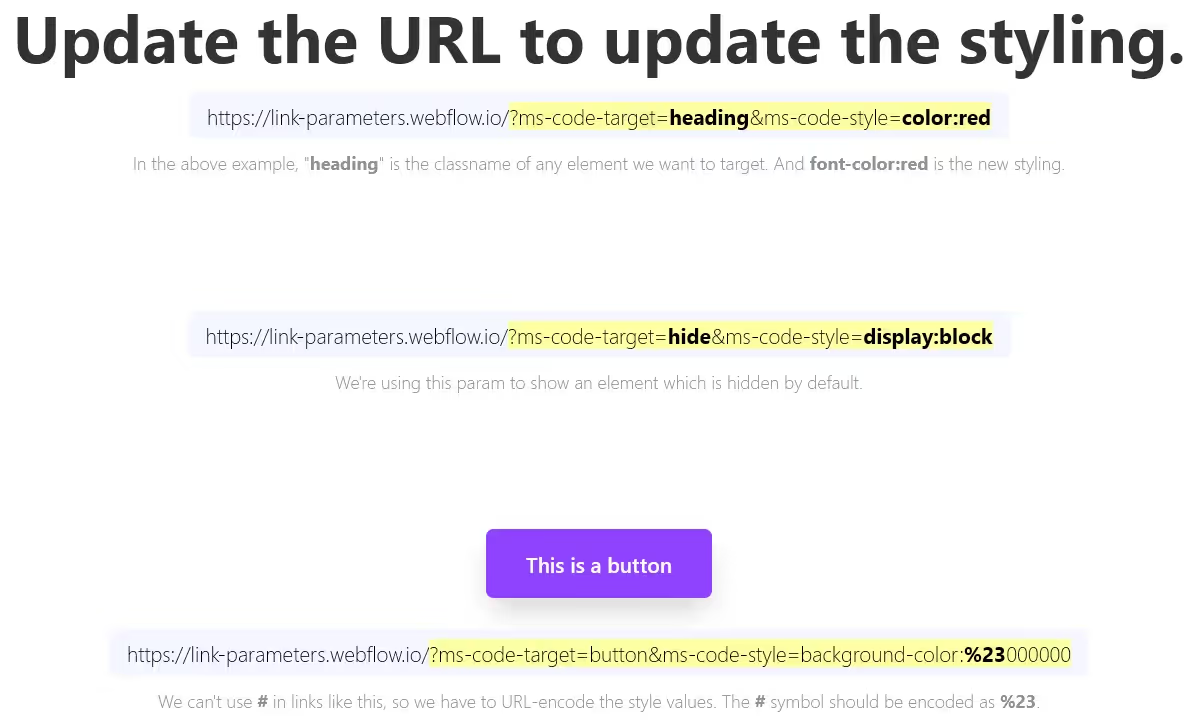
- ms-code-target=class-name – simply replace “class-name” with the CSS class you want to change
- ms-code-style=CSS-styling – replace “CSS-styling” with the new style
For example, if you wanted to change the color of a heading when users clicked a button, you would add the following link to the button:
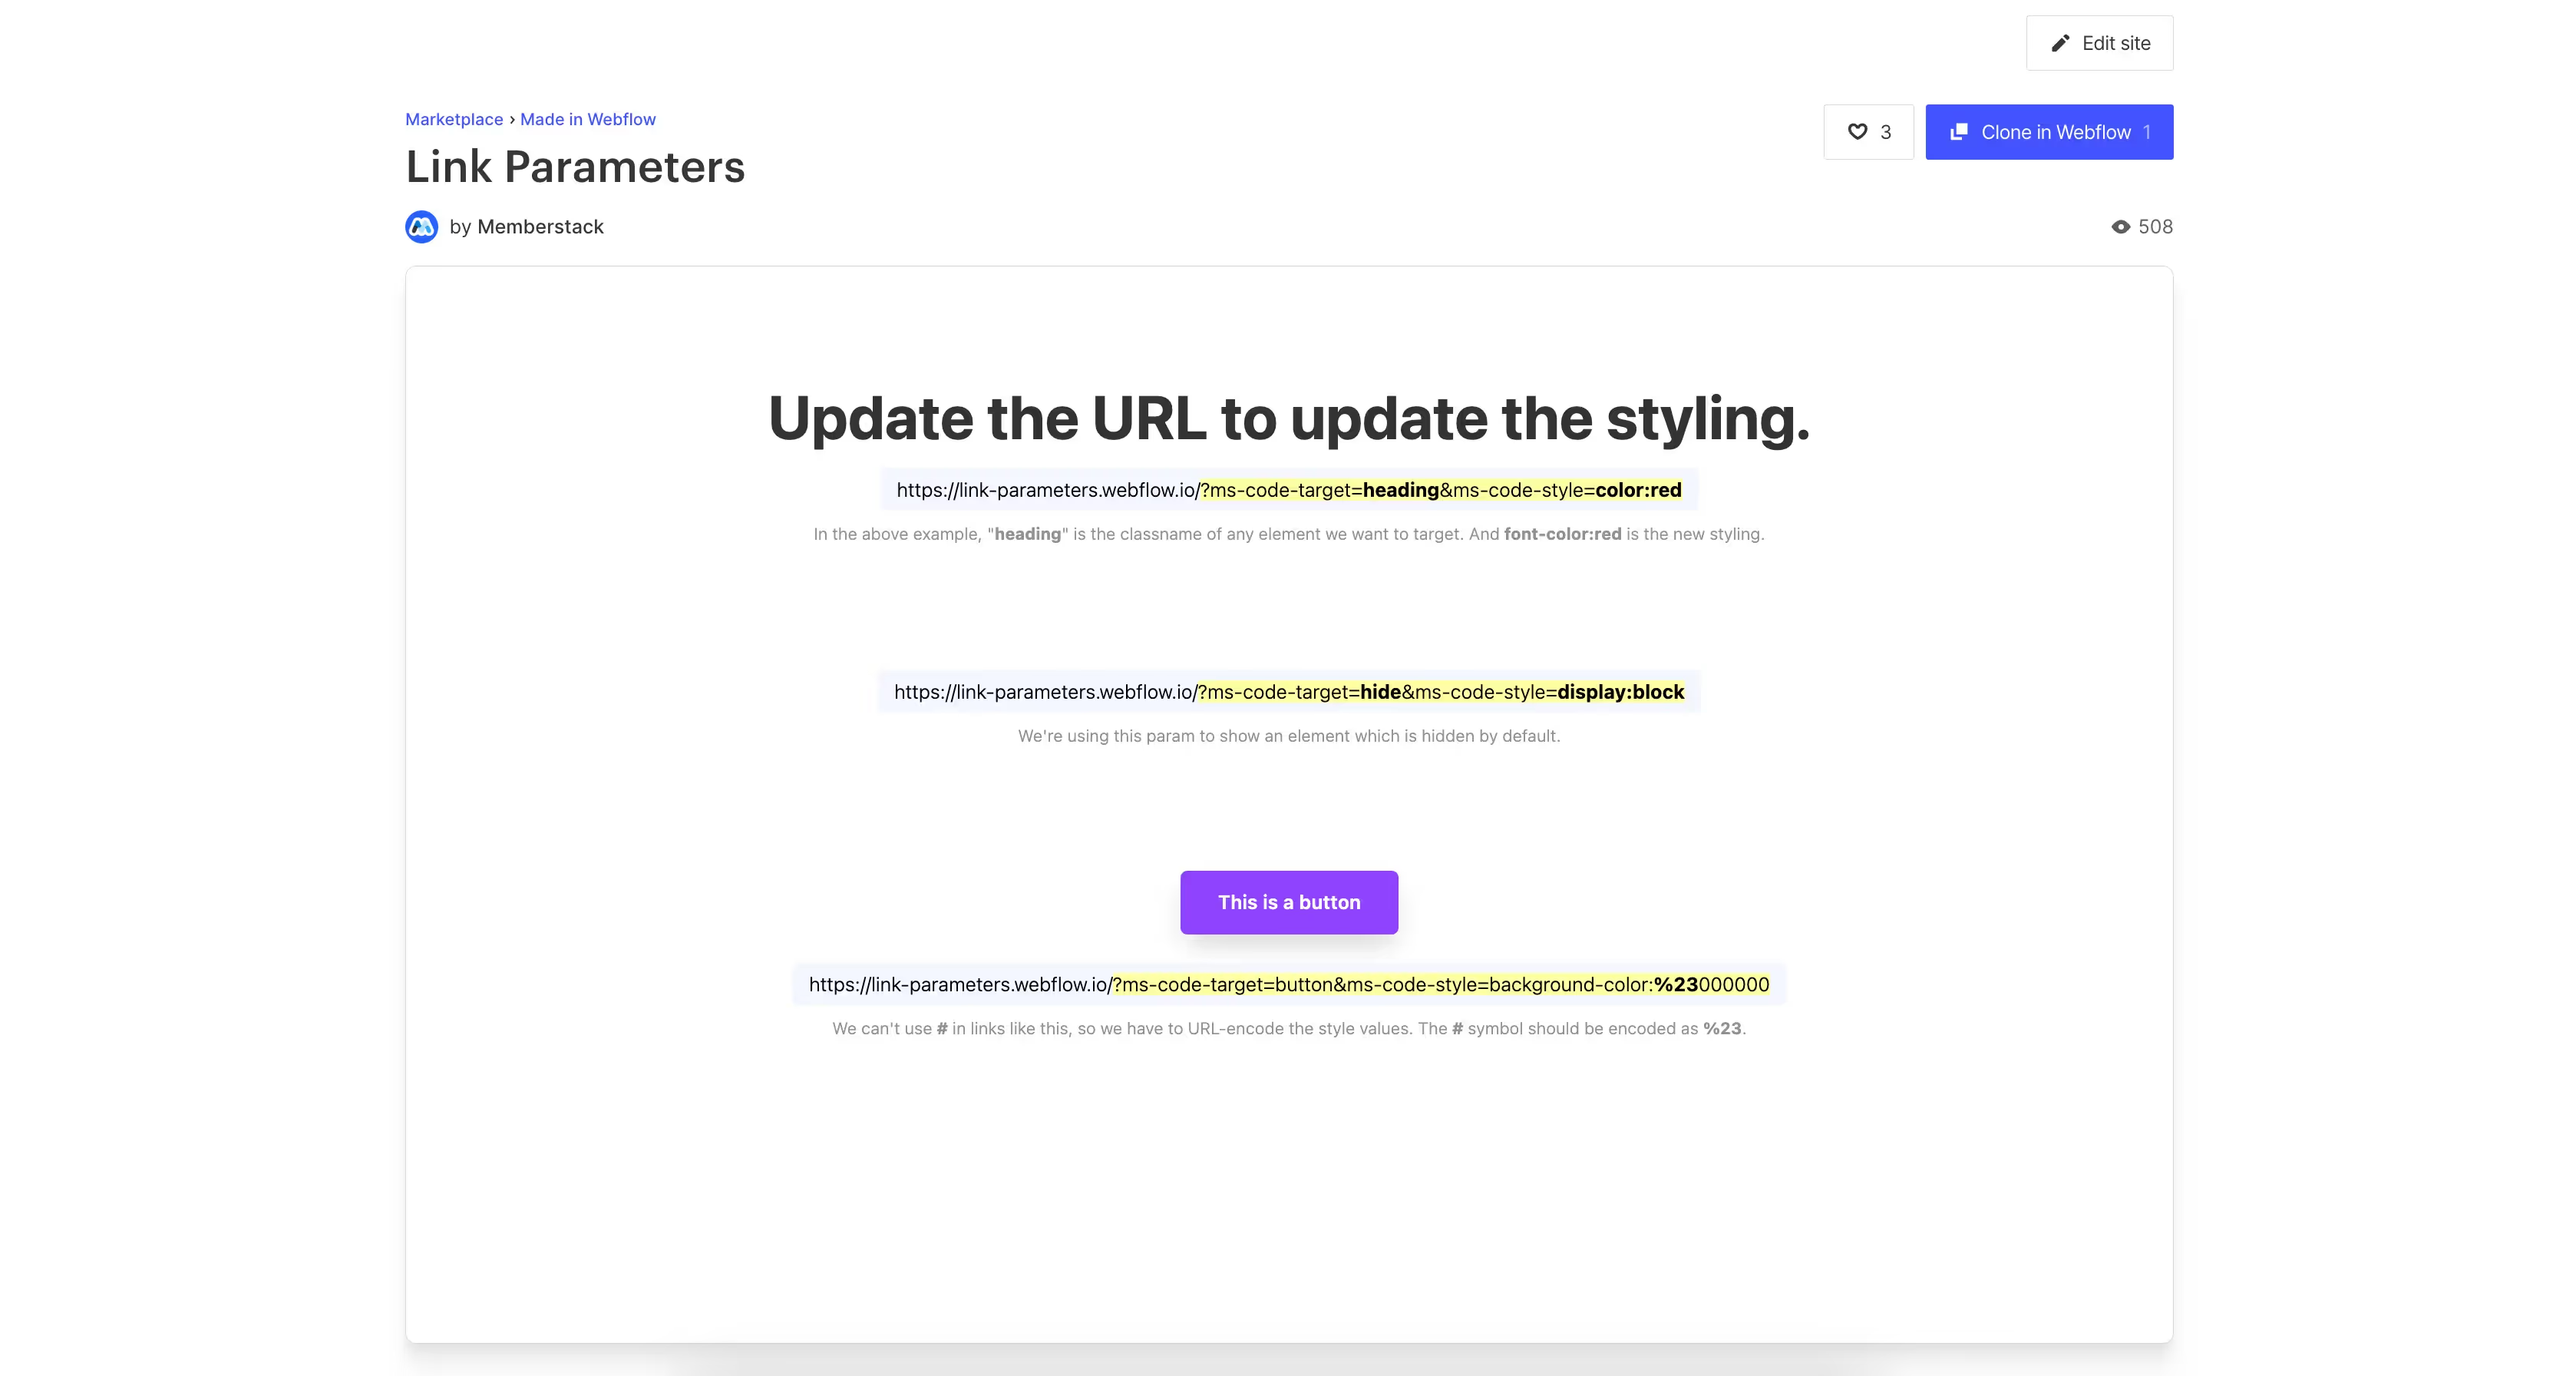
https://yoursite.com/?ms-code-target=heading&ms-code-style=color:red
For this example to work, the heading’s class would have to be “heading.”
Keep in mind that all elements on the page that use the “heading” class will be affected.
Conclusión
That’s everything, you can now go ahead and test the URL parameters on your live site.
If you want to use our demo project to get you started, just click the button below to add it to your Webflow site.

Our demo can help you dynamically tweak the styling of any element on your site using just a link parameter.
Take me to the Scripts
Añada afiliaciones a su proyecto Webflow en cuestión de minutos.
Más de 200 componentes Webflow clonables gratuitos. No es necesario registrarse.
Añade membresías a tu proyecto React en cuestión de minutos.

.webp)


.png)
