

Ovidiu
Cómo crear un campo de selección múltiple con capacidad de búsqueda en Webflow
Miembros necesarios
https://www.memberstack.com/scripts/custom-multi-selects
Tutorial
Clonable
Why/Use Cases –
- Create a customizable multi-select field which allows users to search within the available options.
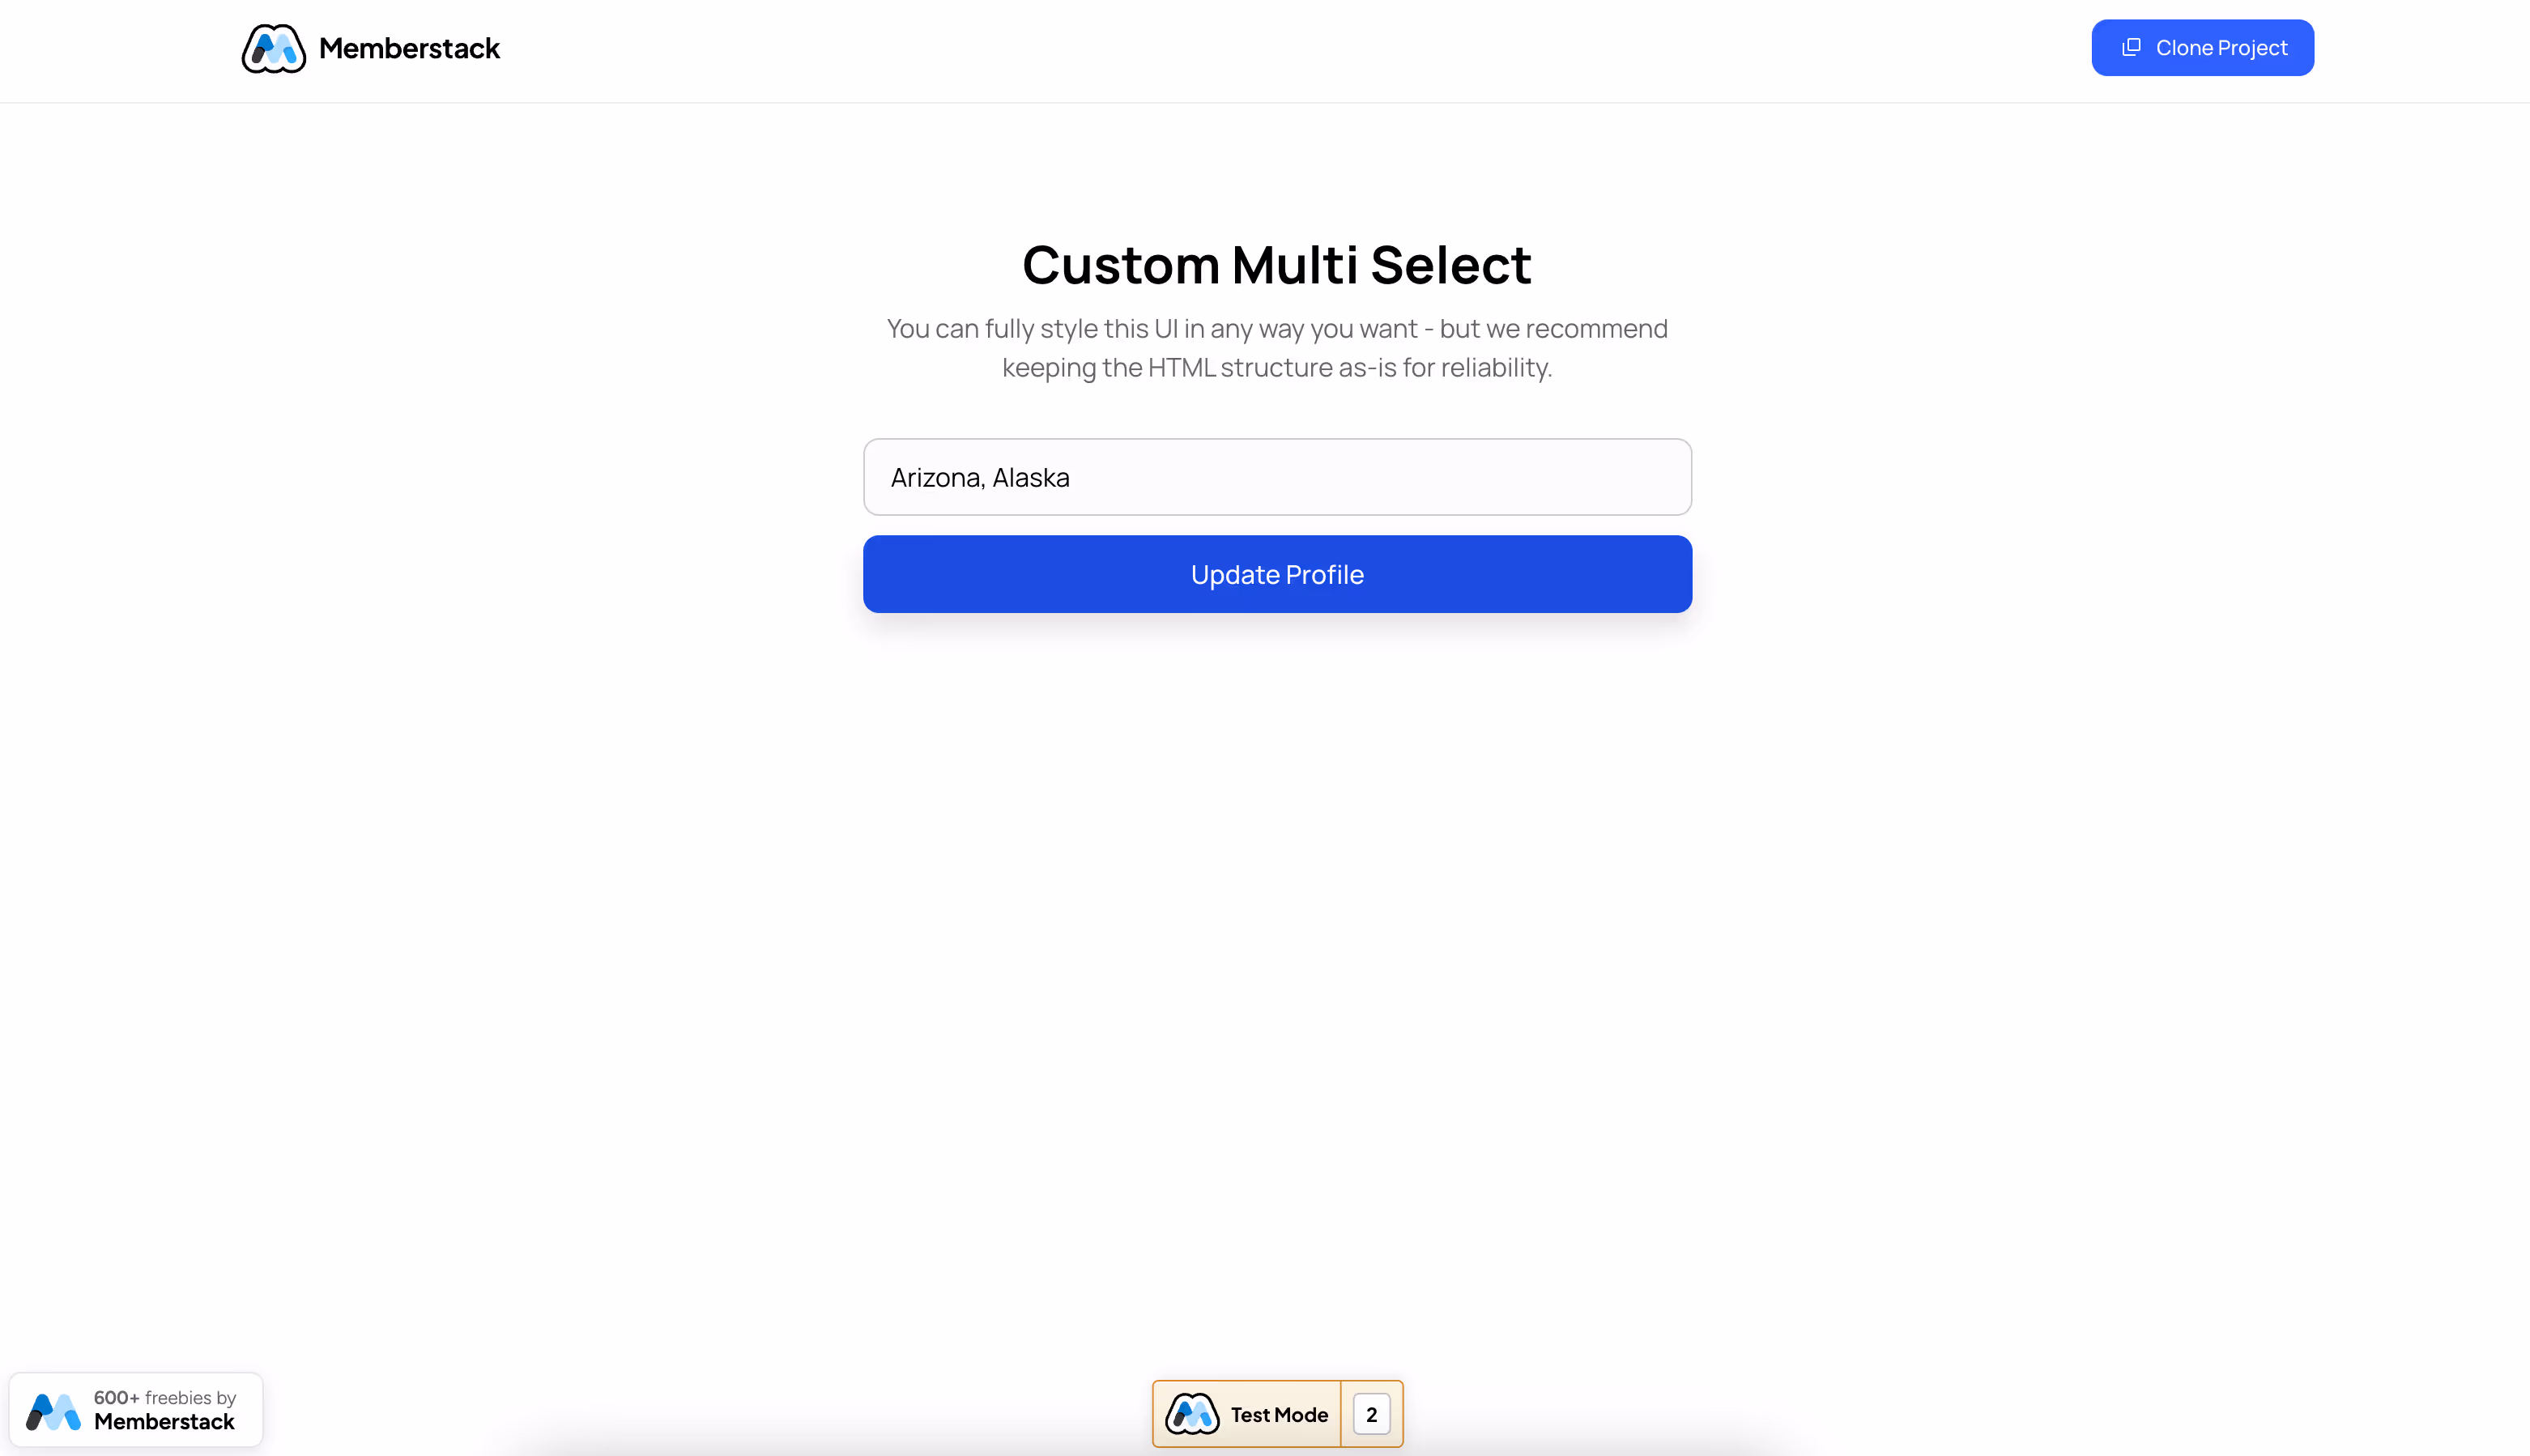
This guide will help you build a form with custom multi-select fields that have built-in search functionality and are fully editable in Webflow. On refresh, the field will prefill with the options previously selected, and you can also use these fields in any Memberstack forms.
Adding custom multi-select field to a Webflow form
To add a multi-select field to a form in Webflow, we’re going to use MemberScript #109 – Custom Multi Selects. Follow the link to get the code you’ll need to add to your page and watch a video tutorial on how to set everything up.
Setting it up
Normally we go through each step of the setup process, but this time there’s quite a lot of elements with multiple custom attributes each which would make this a long and tedious guide.
The best way to get started would be to clone our project and just copy the form over to your project.
Now that that’s done, let’s take a look at some of the things you may want to change.
As far as styling goes, you should be able to do whatever you want to the form as long as you keep it inside the same wrapper because we’ve added a custom attribute to it.
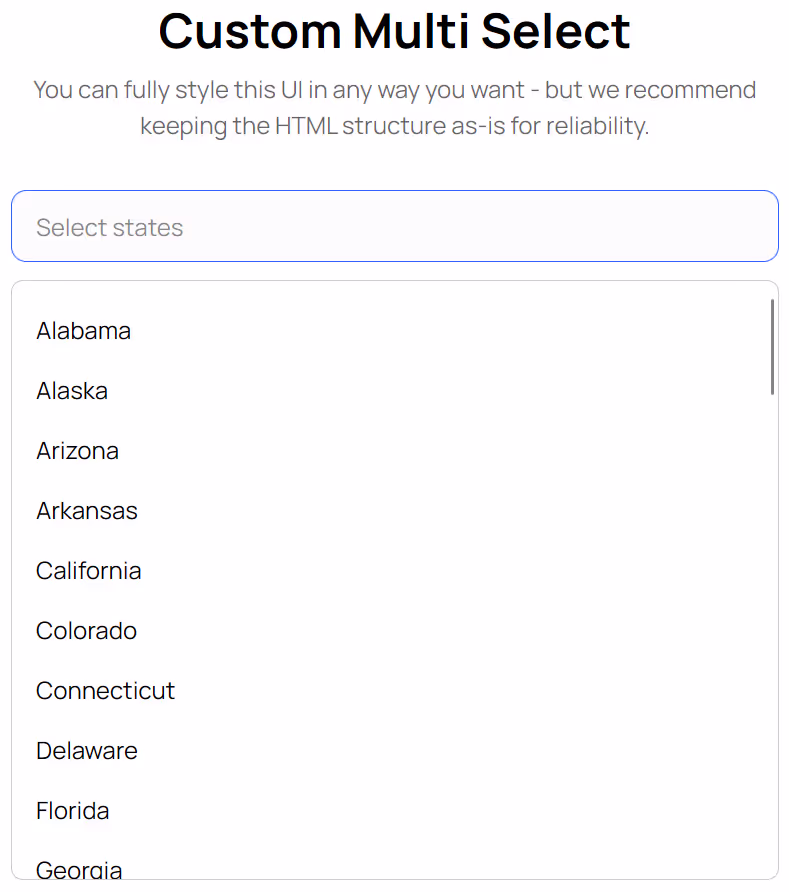
To change the options available in the dropdown menu, select the input field and look for the “ms-code-select-options” attribute. All you need to do is write each option in the value field, separated by commas (no space).
The name of the field in our example is “States,” but you can go ahead and rename it to whatever is relevant to your form, as well as the placeholder.
Hacer que funcione
Now that you’ve got everything configured and your form’s set up in Webflow, all you need to do is add the MemberScript #107 custom code to your page, before the closing body tag.
Conclusión
That’s everything, you can now go ahead and test your form’s multi-select field on the live site.
If you want to use our demo project to get you started, just click the button below to add it to your Webflow site.
Our demo can help you add a custom multi-select field in your Webflow form.
Button – Get cloneable
Añada afiliaciones a su proyecto Webflow en cuestión de minutos.
Más de 200 componentes Webflow clonables gratuitos. No es necesario registrarse.
Añade membresías a tu proyecto React en cuestión de minutos.
.webp)


.png)

