Kevin Richer
Cómo retrasar la carga de contenido en Webflow
Miembros necesarios
#7 - Delay Loading Elements - Delaying loading elements
Tutoriales
Clonable
https://webflow.com/made-in-webflow/website/display-item-groups-in-json
Why/When would need to Delay Content Loading in Webflow?
- Preventing Rendering Before Third Party Content is Ready: Give your site time to retrieve third party content (such as Member JSON) before trying to render the section it will be used in.
- Enhancing User Experience: Gradually revealing content can keep users engaged, especially on landing pages or during storytelling.
- Performance Optimization: Delaying non-essential content can improve page load times, which is crucial for user retention and SEO.
- E-commerce Sites: Introduce products or special offers progressively to create interest and anticipation.
- Portfolios and Galleries: Create a dynamic and engaging way to showcase work or art pieces.
Cómo retrasar la carga de contenido en Webflow
In the world of web design, the timing of content loading can be as crucial as the content itself. Delaying content loading in Webflow can enhance user experience, manage user attention, and improve website performance. For example, a delay can prevent premature loading when using MemberScripts that display Member JSON. Let's explore how to implement a loading delay in Webflow.
Implementing Delayed Content Loading
There are at least a couple of ways to implement delayed loading in Webflow: custom animations and scripting. These methods work but take much more effort than our attribute-based MemberScripts. Since we want to show you the simplest way to delay content loading in Webflow, we’ll use MemberScripts in three simple steps.
Note that we assume you have a Memberstack account and have connected your Webflow site to Memberstack. If you haven’t done that yet, click here to get set up.
1. Select Element(s) to Delay
First, you need to decide which elements you want to delay. It could be images, text blocks, or entire sections of your site.
2. Setting up the Delay
Once you’ve identified the elements to delay, you can apply Memberscript #7 - Delay Loading Elements to these elements. We recommend a default value of one second for delays related to data fetching.
With Memberscript #7, you can customize the delay duration to suit your content and design needs. You can adjust the timing to create the desired effect; just remember that your users probably won’t want to wait too long!
3: Testing and Tweaking
After implementing the delay, testing how it performs across different devices and browsers is important. For most, this will likely involve loading your page in multiple browsers on whatever devices you have access to. More advanced users might be interested in testing at various internet speeds.
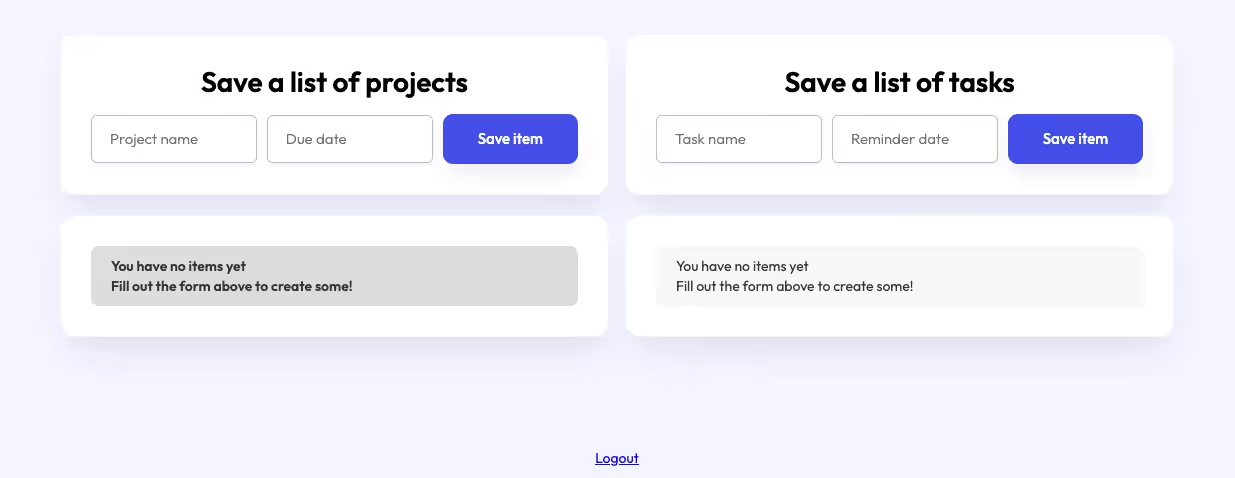
We’ve created a Webflow clonable to give you a head start! When you jump in, you can sign up or log in to access the page where MemberScript #7 is used.


You can add a list of projects and tasks, which will be displayed beneath their respective input forms. The clonable uses Memberscript #7 on the top-level “wrap” element through the “ms-code-delay” attribute, which you can change to alter the loading delay.
Conclusión
Delaying content loading in Webflow is a simple yet effective way to add a layer of sophistication to your website. Whether for aesthetic, performance, or user engagement reasons, this feature can significantly elevate how users interact with your content.
Remember, the key is to balance the delay to ensure it adds value without causing frustration. With this Memberscript and Webflow's powerful design capabilities, you can create an engaging and high-performing website.
Take me to the Script
#7 - Delay Loading Elements - Delaying loading elements
Añada afiliaciones a su proyecto Webflow en cuestión de minutos.
Más de 200 componentes Webflow clonables gratuitos. No es necesario registrarse.
Añade membresías a tu proyecto React en cuestión de minutos.

.webp)


.png)
