

Kevin Richer
Cómo mostrar una animación de carga personalizada
Miembros necesarios
https://www.memberstack.com/scripts/14-create-loading-state-on-click
Tutorial
Clonable
https://webflow.com/made-in-webflow/website/delete-update-js-items
Why/When would need to Display a Custom Loading Animation?
- Improving User Experience: They provide a visual cue that something is happening, especially important during longer loading times.
- Branding: Custom animations can be tailored to match your brand's style and personality.
- Feedback for User Actions: Useful in forms, submissions, or any process that requires a wait time, reassuring users that their action is being processed.
- Enhancing Aesthetics: They add a creative and polished look to your site, making it stand out.
- Reducing Perceived Wait Times: A well-designed animation can make a wait seem shorter than it actually is.
Why Use Custom Loading Animations?
Custom loading animations are a simple way to up your user experience game. They let users know something is happening and can be a fun way to brand an interaction. Loading animations can even improve retention by reducing perceived wait times.
Implementing a Custom Loading Animation in Webflow
To add this feature, we’ll use a MemberScript. The script will display a custom loading animation for a fixed duration when users interact with specific elements on your site.
1. Choosing or Creating Your Animation
First, decide on the style of your loading animation. It should align with your website's design and brand identity. You can either source an animation from somewhere like LottieFiles, or create your own. If you’re creating your own animation for Webflow, you’ll find the most support and documentation for Lottie JSON files. Once you have your animation, upload it to your Webflow assets and include it on the page where you’d like it displayed.
2. Configuring Your Animation’s Display
Once your animation is ready, add MemberScript #14 - Create Loading State on Click by following the script’s tutorial. Don’t forget to adjust how long your animation displays at the end of the script if appropriate.
3. (Optional) Repeat!
Our MemberScript supports multiple triggers per animation and multiple animations on a page. Feel free to get creative by adding different animations for different user actions and reusing animations across actions.
Conclusión
A custom loading animation is more than just a visual element. It can be a simple yet effective way to improve user experience. By following these steps and using the MemberScript, you can create a more engaging and visually appealing website with Webflow.
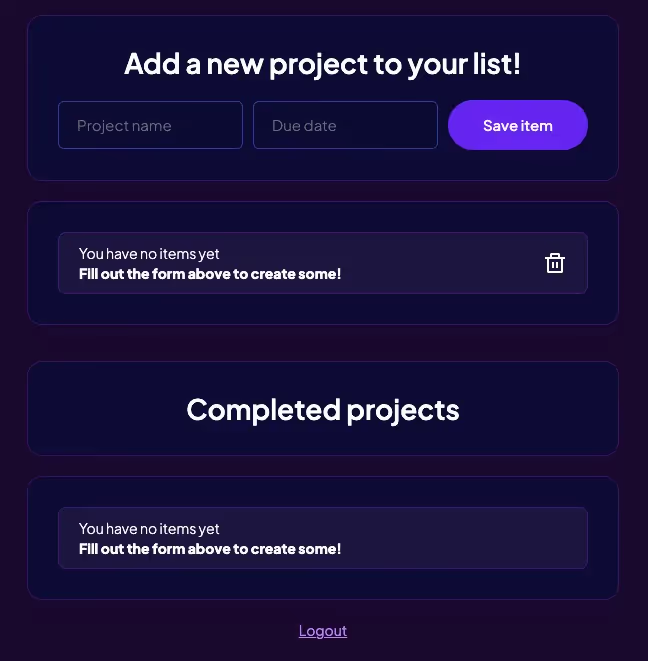
Check out the cloneable if you’d like to work with the example in MemberScript #14’s tutorial! It uses custom loading animations on the “Success” page when items are added or removed.
Llévame a los guiones
https://www.memberstack.com/scripts/14-create-loading-state-on-click
Añada afiliaciones a su proyecto Webflow en cuestión de minutos.
Más de 200 componentes Webflow clonables gratuitos. No es necesario registrarse.
Añade membresías a tu proyecto React en cuestión de minutos.
.webp)


.png)

