#105 - Checkout After Login v0.1

Automatically launch the checkout if a member selects a price before logging in.

Ver demostración

<!-- 💙 MEMBERSCRIPT #105 v0.1 💙 CHECKOUT AFTER LOGIN -->
<script>
  /* Checks if the current URL matches the configured redirect URL, or if no specific URL is required */
  function isCorrectPage() {
    return redirectOnLoginURL === '' || window.location.pathname === redirectOnLoginURL;
  }

  /* Checks if Memberstack is fully loaded before running any Memberstack-specific code.*/
  function memberstackReady(callback) {
    function checkAndExecute() {
      if (window.$memberstackDom) {
        callback(); // Memberstack is ready, run the callback function.
      } else {
        setTimeout(checkAndExecute, 100); // Wait for 100ms and check again.
      }
    }

    checkAndExecute(); // Start checking if Memberstack is ready.
  }

  /* Initiates the Stripe checkout process with a specified price ID.*/
  async function initiateCheckout(priceId) {
    try {
      // Set a flag in session storage to indicate that the checkout page was accessed.
      sessionStorage.setItem('ms_checkout_viewed', 'true');
      await window.$memberstackDom.purchasePlansWithCheckout({
        priceId, // The price ID for the product being purchased.
        returnUrl: window.location.href, // Redirect the user back here after completing the checkout.
      });
    } catch (error) {
      console.error('Failed to initiate payment:', error); // Provide error details in the console.
    }
  }

  /* Main execution flow that starts once Memberstack is confirmed to be ready */
  memberstackReady(() => {
    window.$memberstackDom.getCurrentMember().then(({ data: member }) => {
      if (member && sessionStorage.getItem('ms_price') && !sessionStorage.getItem('ms_checkout_viewed')) {
        initiateCheckout(sessionStorage.getItem('ms_price')); // Start the checkout process if conditions are met.
      }
    }).catch(error => {
      console.error('Failed to retrieve user data:', error); // Log an error if fetching member data fails.
    });
  });
</script>

Creación del escenario Make.com

1. Descargue el proyecto JSON a continuación para empezar.

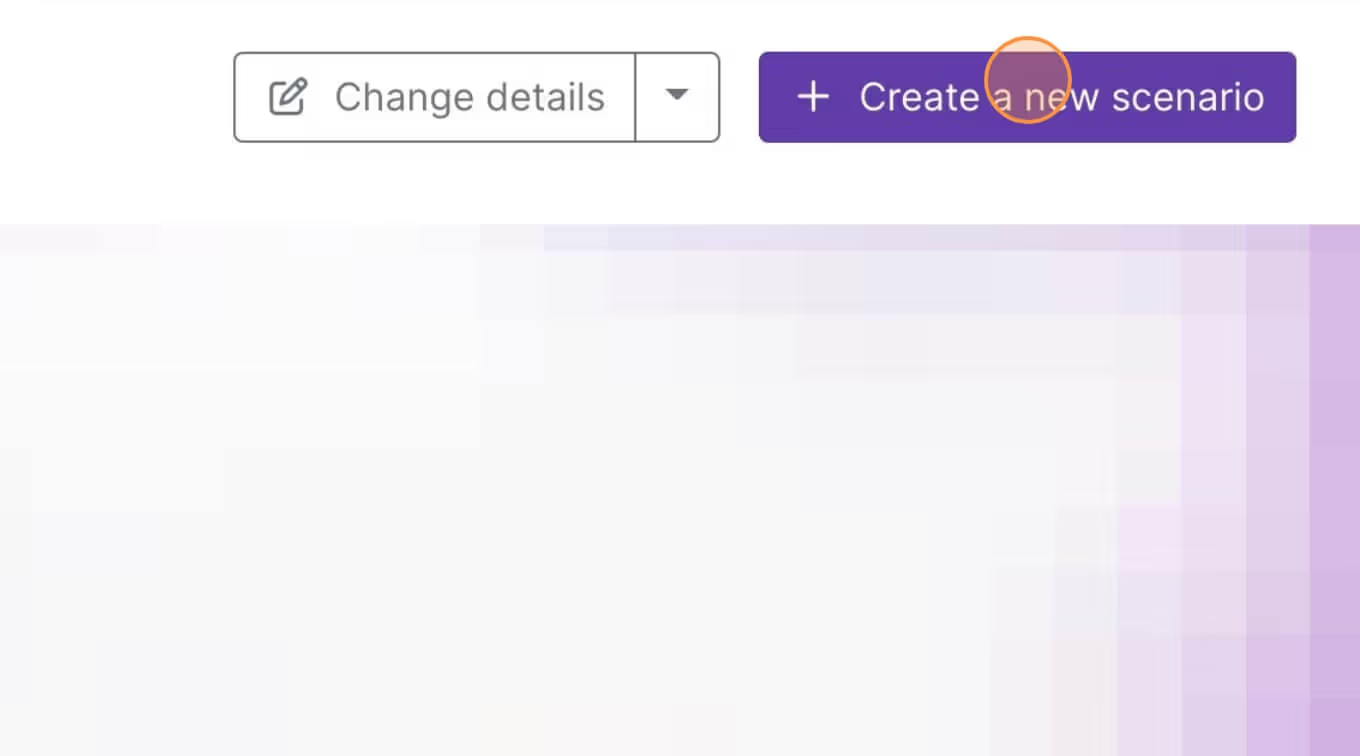
2. Navegue hasta Make.com y Cree un nuevo escenario...
3. Haga clic en el pequeño cuadro con 3 puntos y luego Importar Blueprint...
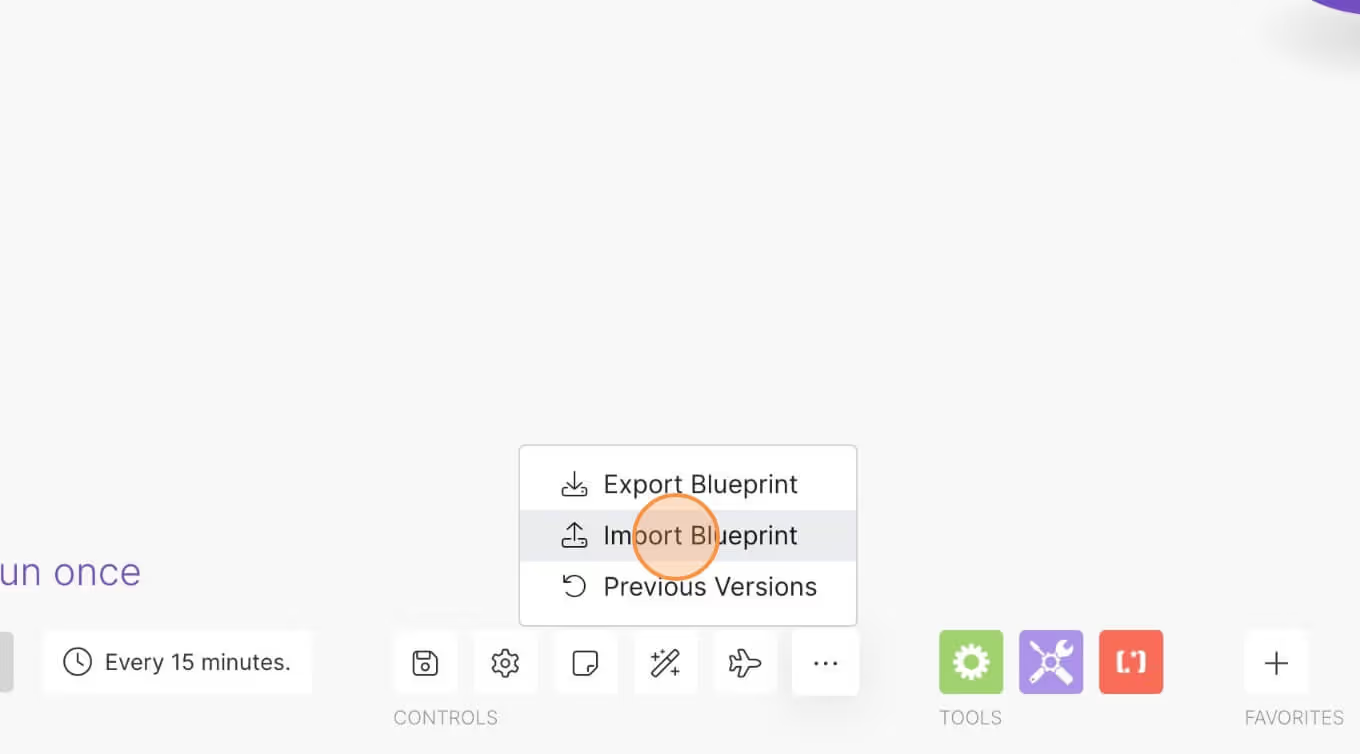
4. Sube tu archivo y ¡voilá! Ya está listo para vincular sus propias cuentas.

¿Necesitas ayuda con este MemberScript?

Todos los clientes de Memberstack pueden solicitar asistencia en el Slack 2.0. Tenga en cuenta que no se trata de funciones oficiales y que no se puede garantizar la asistencia.

Únete al Slack 2.0
Notas de la versión
Atributos
Descripción
Atributo
No se han encontrado artículos.
Guías / Tutoriales
No se han encontrado artículos.
Tutorial
¿Qué es Memberstack?

Autenticación y pagos para sitios Webflow

Añada inicios de sesión, suscripciones, contenido cerrado y mucho más a su sitio Webflow: fácil y totalmente personalizable.

Más información