Utilizado por 50.000 equipos y agencias
Memberstack es utilizado por millones de personas cada día.


_logo_2012.svg.avif)


Beneficios principales
Control del diseño
Empiece desde cero o utilice un formulario ya preparado y personalice los colores, las fuentes, la colocación del logotipo y el diseño general para crear un formulario que se adapte a su marca.
Segmentación
Recopile datos específicos relevantes para las necesidades de su empresa. Incluya campos adicionales para recopilar información y utilizarla para segmentar su audiencia y adaptar su comunicación (como el correo electrónico) y su producto o servicio.
Análisis e información
Recopile, rastree y analice los distintos comportamientos e interacciones de los usuarios.
Cómo integrar su formulario de inicio de sesión Webflow personalizado
Memberstack funciona con los formularios de registro, inicio de sesión y perfil creados en Webflow. A continuación le mostramos cómo integrar su formulario de inicio de sesión personalizado de Webflow con Memberstack.
A. Copiar y pegar
Este método es el más rápido y el más recomendado. Tenemos cientos de componentes personalizables que puedes utilizar para empezar.
1. Elija entre más de más de 200 componentes gratuitos o comience con un formulario de registro sin estilo.
2. Copie el elemento de formulario y péguelo en su proyecto.
Todos los atributos y el código personalizado que necesita ya se han configurado para usted.
Si desea recopilar información adicional, consulte "Paso opcional 3 → Añadir campos personalizados"
abajo.
-------------
B. Empezar de cero
Paso 1 → Crear un formulario en Webflow
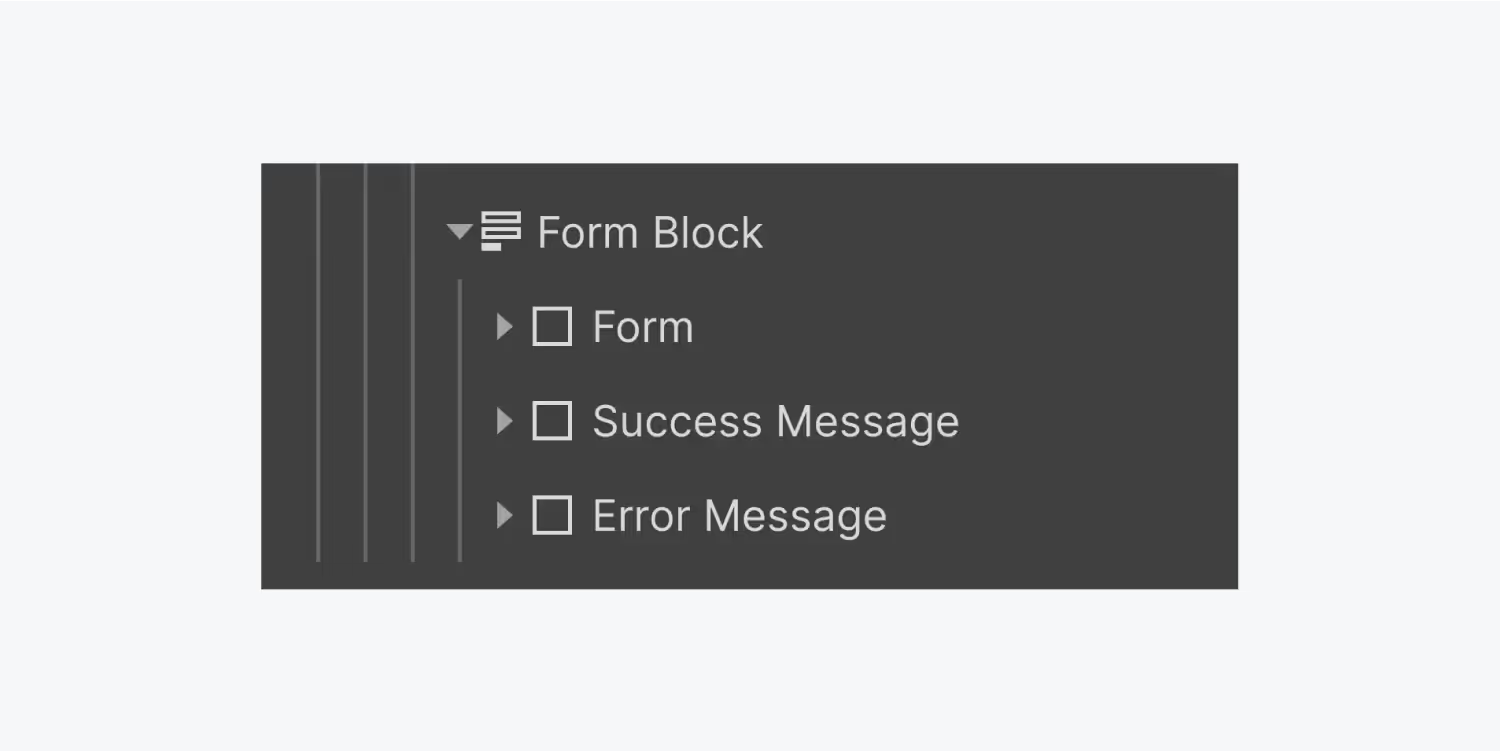
- Añade un bloque de formulario.
- Añada los campos de entrada obligatorios (correo electrónico y contraseña) y los campos adicionales para los que desee recopilar datos. Pueden ser casillas de verificación, botones de radio, campos de selección o áreas de prueba.
Paso 2 → Añadir los atributos de datos Memberstack.
- Add data-ms-form=”signup” to the <form> element.
- Añada los datos attributedata-ms-member="email" a su entrada de correo electrónico.
- Añada data-ms-member="password" a su entrada de contraseña.
Opcional Paso 3 → Añadir campos personalizados
- Si tiene campos personalizados, tendrá que añadirlos a su base de datos en Memberstack. Crear campos personalizados
- Memberstack generará un ID de campo para cada uno, que tendrá que añadir a Webflow. El atributo se verá como data-ms-member="custom_field_id", data-ms-member="name", data-ms-member="phone", etc.
- Tu formulario está listo para empezar a añadir miembros a tu aplicación Memberstack.
-------------
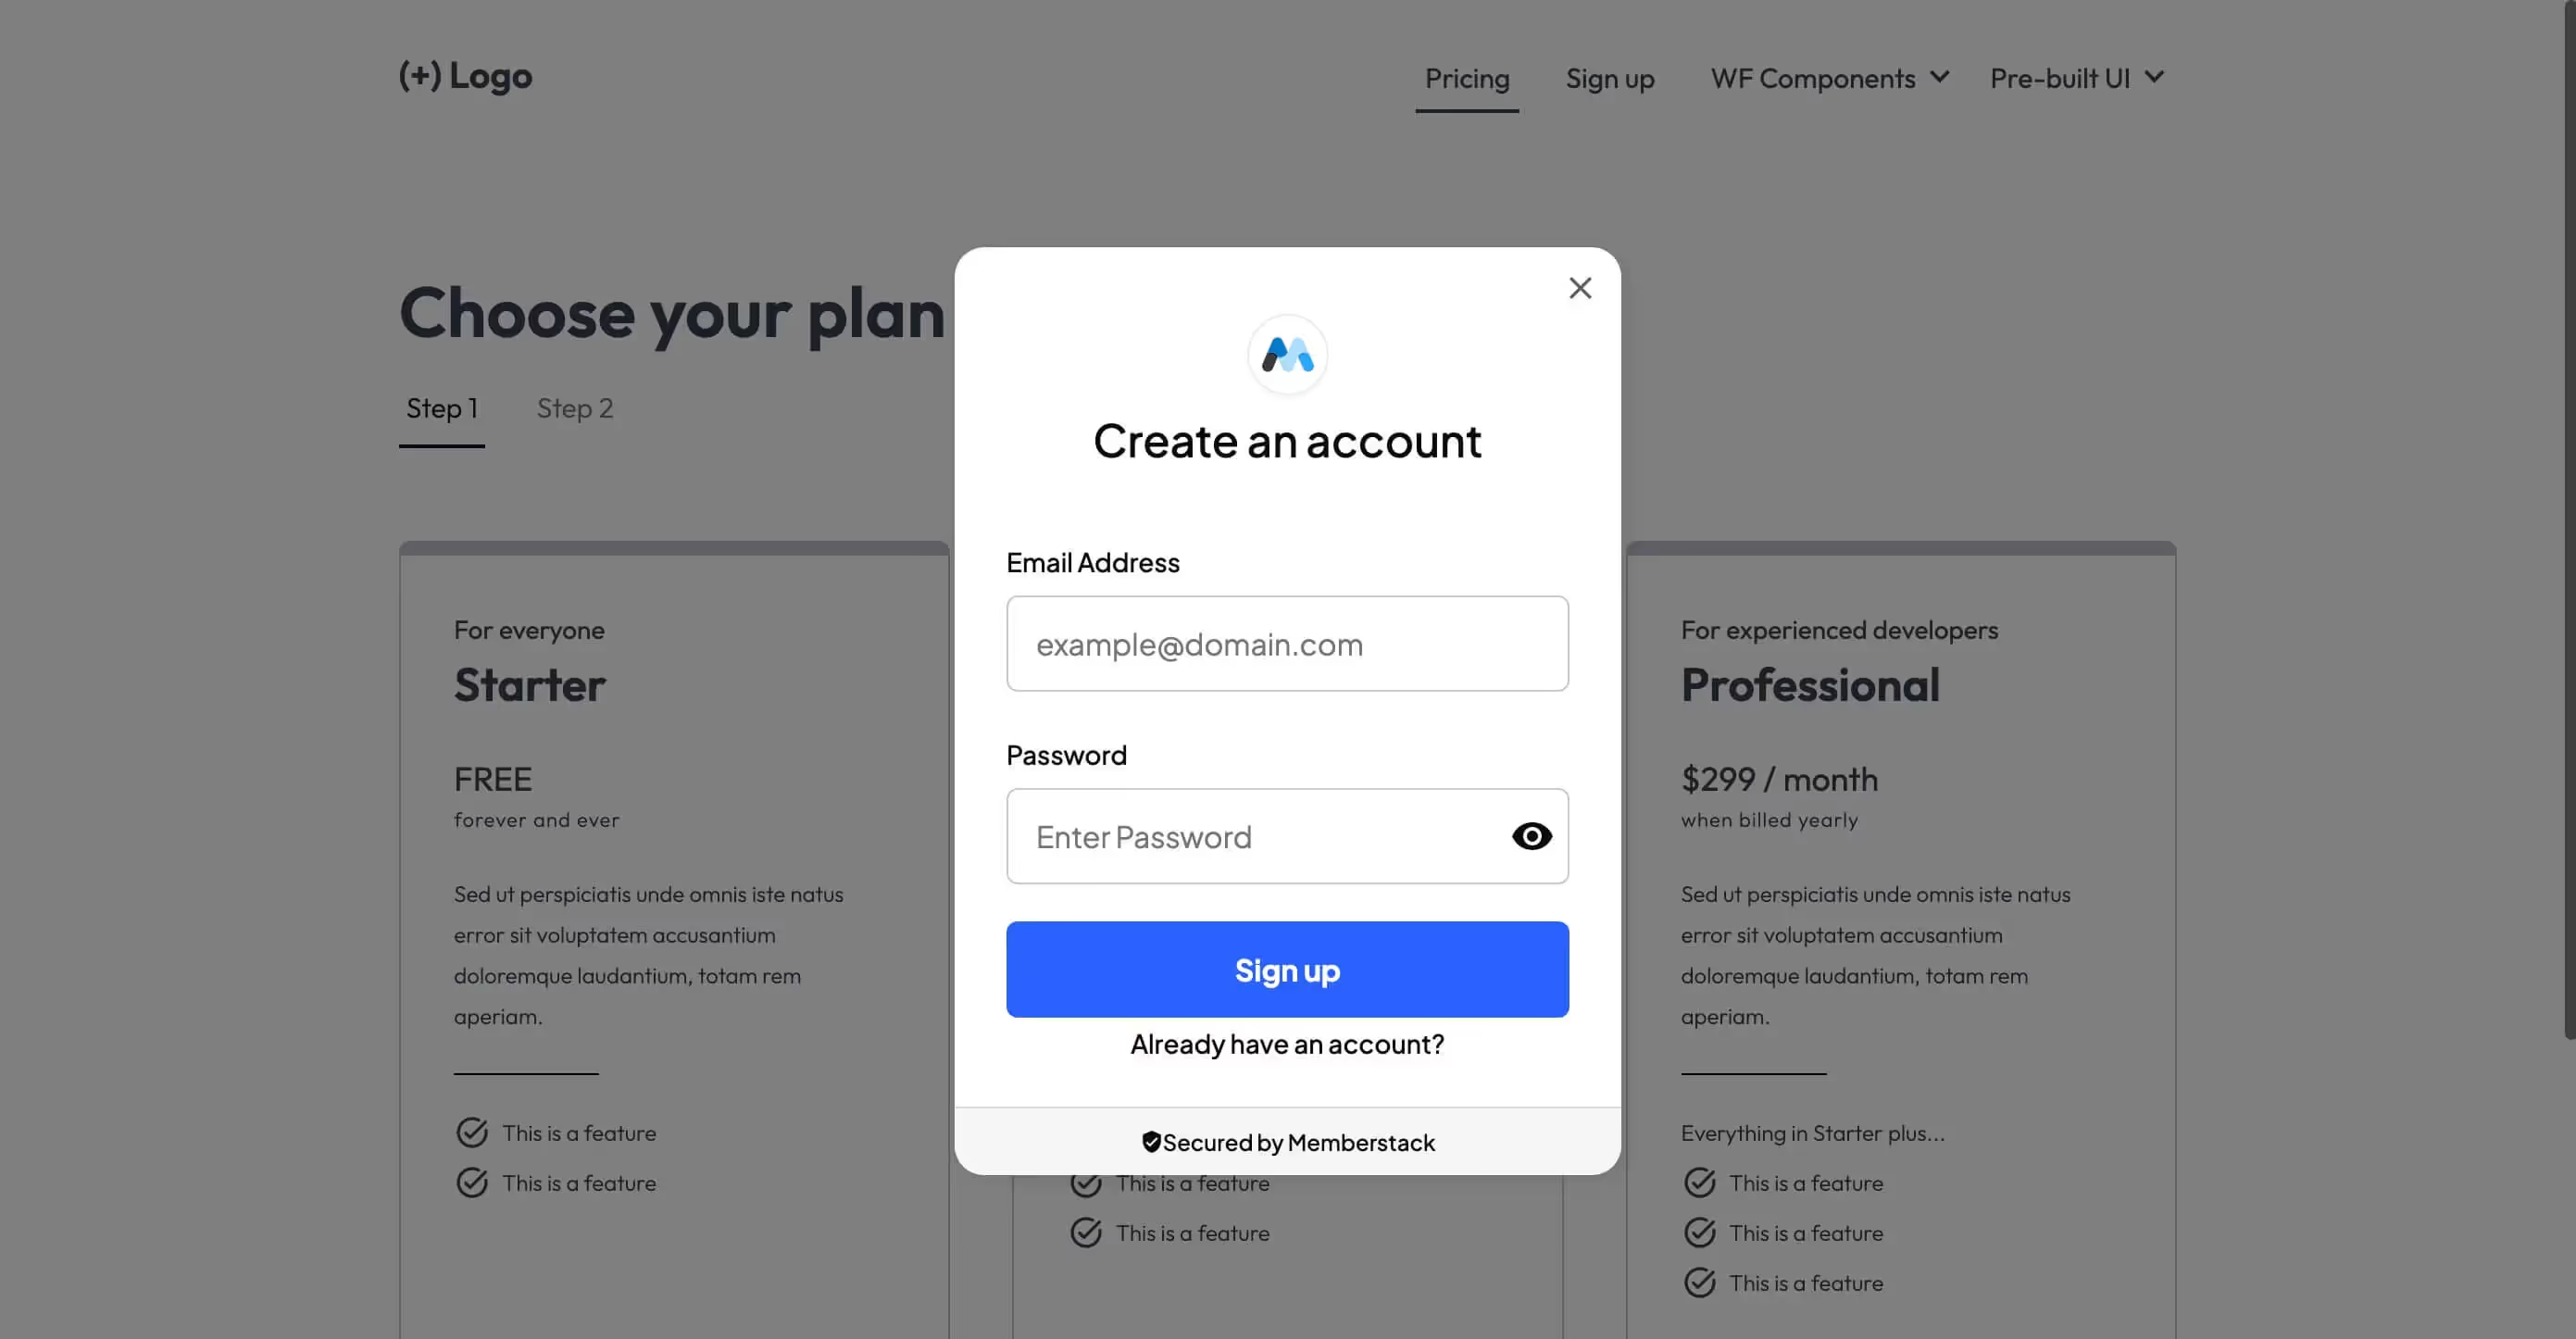
C. Módulos preconstruidos
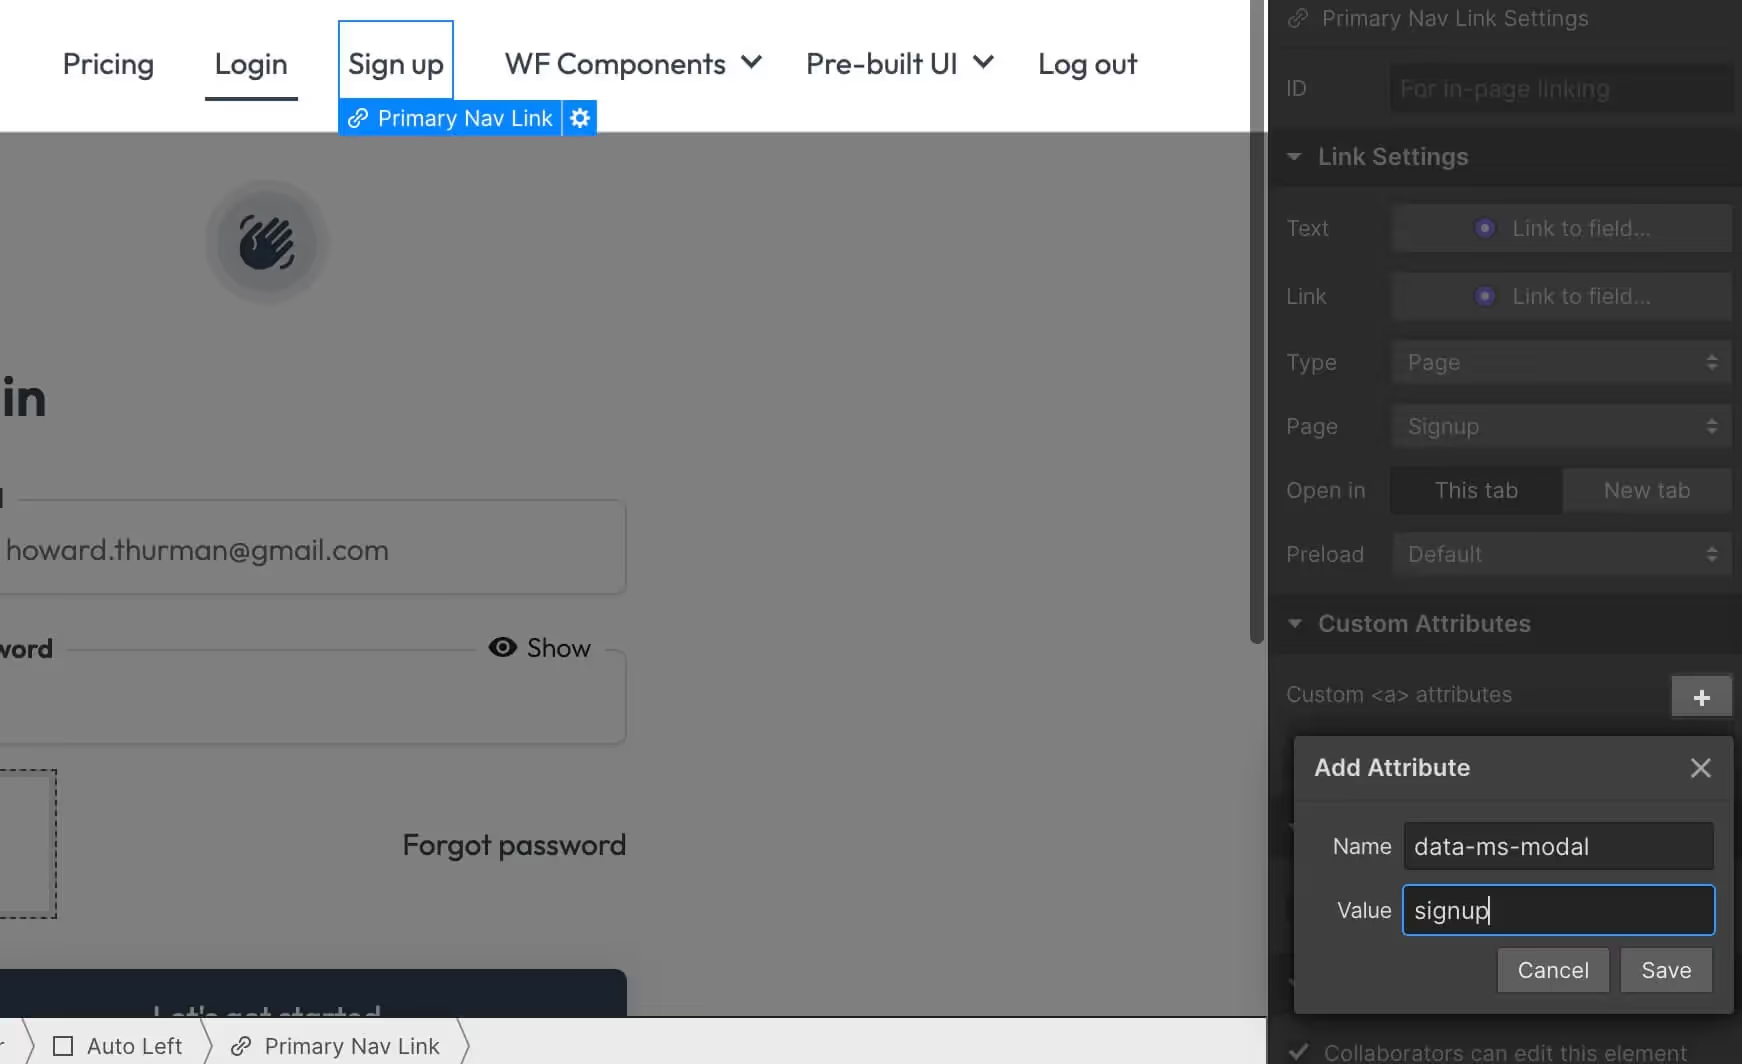
Paso 1 → Crea un enlace o botón de registro en tu sitio web.

Paso 2 → Añada el atributo data-ms-modal="signup" a su enlace.

¡Ya está! → ¡Su formulario está listo para los miembros!

Crear varias páginas de registro
Por favor, coloque sus formularios de registro en páginas individuales. Memberstack no puede procesar correctamente una página con 2 o más formularios de registro.
¿Quieres saber más sobre Memberstack? Únete a nuestra comunidad Slack de más de 5.500 miembros.
Únete al Slack de la comunidad Memberstack y ¡pregunta! Espera una respuesta rápida de un miembro del equipo, un experto de Memberstack o un compañero de la comunidad.
Únete a nuestro SlackCaracterísticas similares
Contenido alojado
Aloje contenido HTML y enlaces directamente en Memberstack, asegurándose de que su contenido "alojado" sólo sea accesible para los miembros con los planes o permisos adecuados.
Más informaciónMensajes de error y éxito personalizados
Usted diseña todo. Incluidos los mensajes de error y de éxito que muestra Memberstack cuando un "Correo electrónico ya está ocupado" o un "Perfil ha sido actualizado".
Más informaciónInformación sobre cancelaciones
Recoge los motivos de cancelación de los clientes a través de la interfaz de usuario predefinida de Stripe.
Más informaciónBiblioteca de componentes Webflow
Biblioteca en constante crecimiento con más de 200 componentes Webflow personalizados.
Más informaciónTraducción
Crea tu propia interfaz de usuario y configura el texto para que esté en el idioma que quieras. Traduce también las páginas alojadas, los mensajes de error y los mensajes de éxito.
Más informaciónIncorporación en varios pasos
Cree flujos de registro de alta conversión que se vean y se sientan exactamente como usted desea.
Más informaciónVer todas las características →
Empieza a construir tus sueños
Memberstack es 100% gratis hasta que estés listo para lanzarla - así que, ¿a qué estás esperando? Crea tu primera aplicación y empieza a construir hoy mismo.

.avif)


.png)